

Valve installation is a critical process in any piping system, requiring careful attention to detail to ensure optimal performance and safety. This comprehensive manual provides a step-by-step guide for installing various types of valves, from ball valves to gate valves, in different industrial and residential applications.
Before beginning any valve installation, it is essential to gather all necessary tools and materials. These typically include wrenches, pipe cutters, thread sealant, gaskets, and personal protective equipment such as gloves and safety glasses. Additionally, verifying the valve specifications and ensuring compatibility with the existing piping system is crucial to prevent leaks and operational issues.
The first step in the installation process is preparing the work area. This involves shutting off the water or fluid supply, draining the system, and cleaning the pipe ends to remove any debris or corrosion. Proper preparation ensures a clean and secure connection between the valve and the piping system.
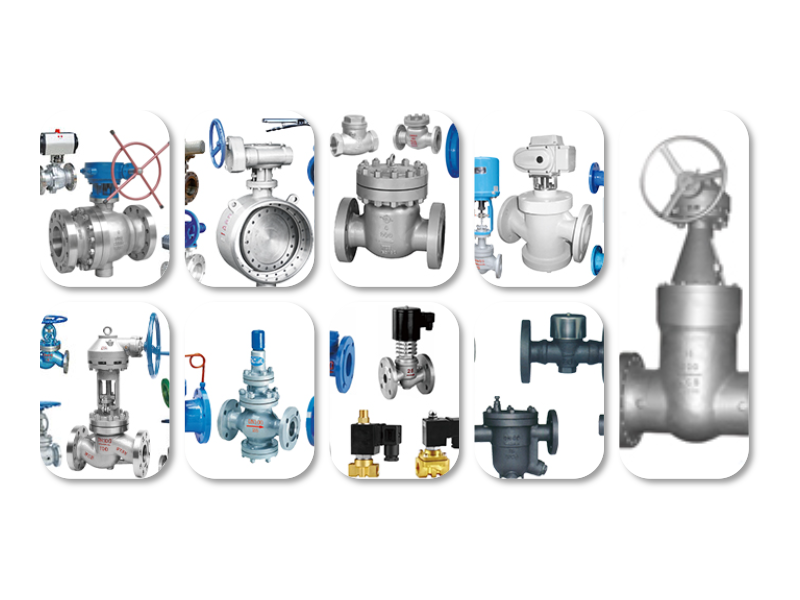
Next, selecting the appropriate valve type for the specific application is vital. Different valves serve distinct purposes: ball valves are ideal for on/off control, gate valves for full flow applications, and butterfly valves for large-diameter systems. Understanding the operational requirements of the system will help determine the most suitable valve type.
Once the valve is selected, the installation process can begin. For threaded valves, applying thread sealant to the male threads and hand-tightening the valve onto the pipe is recommended. Using a wrench to tighten the valve further should be done carefully to avoid over-tightening, which can damage the threads or the valve body.
For flanged valves, proper alignment of the flange holes is essential. Placing a gasket between the flanges and using bolts to secure the connection ensures a leak-free seal. Torqueing the bolts in a crisscross pattern helps distribute pressure evenly, preventing warping or damage to the flanges.
After installation, testing the valve is critical to ensure proper functionality. This involves gradually opening the valve and checking for leaks at the connections. Pressure testing the system according to industry standards can help identify any potential issues before the system is put into full operation.
Maintenance considerations should also be part of the installation process. Regular inspection of the valve for signs of wear, corrosion, or leaks can extend its lifespan and prevent costly repairs. Lubricating moving parts and replacing worn components as needed are essential maintenance practices.
In conclusion, proper valve installation is a multi-step process that requires careful planning, attention to detail, and adherence to industry standards. By following this comprehensive manual, installers can ensure that valves are installed correctly, leading to efficient system operation and long-term reliability. Whether for industrial, commercial, or residential applications, understanding the principles outlined in this manual will help achieve optimal valve performance and safety.


 Chat Oline