

Valve installation is a critical process that directly impacts the efficiency, safety, and longevity of fluid control systems. Whether you're working with industrial pipelines, residential plumbing, or commercial HVAC systems, following a proper valve installation manual is essential to ensure optimal performance and prevent costly mistakes. This comprehensive guide will walk you through the key steps and considerations for successful valve installation.
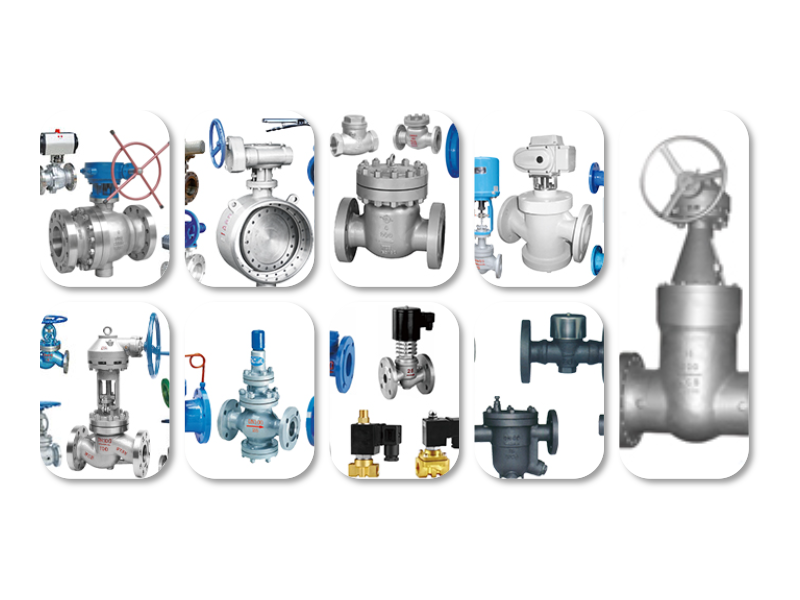
Before beginning any installation process, it's crucial to gather all necessary tools and materials. These typically include the valve itself, appropriate gaskets or seals, wrenches, pipe cutters, thread tape, lubricants, and safety equipment such as gloves and eye protection. Familiarize yourself with the specific valve type—whether it's a ball valve, gate valve, globe valve, or butterfly valve—as each has unique installation requirements.
The first step in the installation process is preparing the work area. Ensure the pipeline is properly cleaned and free from debris, rust, or other contaminants that could affect performance. If the pipeline is new, flush it thoroughly before installing the valve. For existing systems, shut off the fluid supply and drain the line completely to prevent leaks during installation.
Next, carefully inspect the valve and its components for any damage or defects. Check the valve body, stem, seals, and connections to ensure they are in perfect condition. Any signs of damage should be addressed before proceeding with installation.
Proper alignment is critical for valve performance. Ensure the valve is correctly oriented with the flow direction indicated on the valve body. Most valves have an arrow or marking indicating the proper flow direction, and installing against this direction can lead to reduced efficiency or valve damage.
When connecting the valve to the pipeline, use appropriate sealing methods. For threaded connections, apply thread tape or pipe dope to ensure a watertight seal. For flanged connections, use the recommended gaskets and ensure all bolts are tightened evenly to the specified torque. Avoid over-tightening, as this can damage the valve or create stress points.
After installation, perform a pressure test to ensure the valve and connections are properly sealed. Gradually increase the pressure to the system's operating level and monitor for any leaks. If leaks are detected, identify the source and make necessary adjustments before putting the system into operation.
Proper maintenance is essential for long-term valve performance. Regularly inspect the valve for signs of wear, corrosion, or leaks. Lubricate moving parts as recommended by the manufacturer and replace seals or gaskets when necessary. Keep records of maintenance activities to track the valve's performance over time.
Safety should always be a top priority during valve installation. Follow all safety guidelines provided by the manufacturer and wear appropriate personal protective equipment. Be aware of potential hazards such as high pressure, extreme temperatures, and toxic fluids, and take necessary precautions to protect yourself and others.
In conclusion, following a comprehensive valve installation manual is essential for ensuring the optimal performance and longevity of fluid control systems. By carefully preparing the work area, inspecting components, ensuring proper alignment, using appropriate sealing methods, and performing regular maintenance, you can maximize the efficiency and reliability of your valve installation. Always refer to the manufacturer's specific instructions and guidelines for your particular valve type to ensure the best results.


 Chat Oline