

The installation of valves is a critical aspect of any plumbing or mechanical system. Whether you are a professional plumber, a DIY enthusiast, or simply someone who needs to replace a faulty valve, having a comprehensive valve installation manual is essential. This article aims to provide you with a detailed guide on how to install valves correctly and safely.
**Introduction**
Valves are devices used to control the flow of liquids or gases in a system. They are an integral part of plumbing, heating, ventilation, and air conditioning (HVAC) systems. Proper installation of valves ensures the smooth operation of the system and prevents potential hazards such as leaks, bursts, or inefficiencies. In this guide, we will cover the types of valves, tools required, and step-by-step instructions for installing them.
**Types of Valves**
Before diving into the installation process, it is important to understand the different types of valves available. The most common types include:
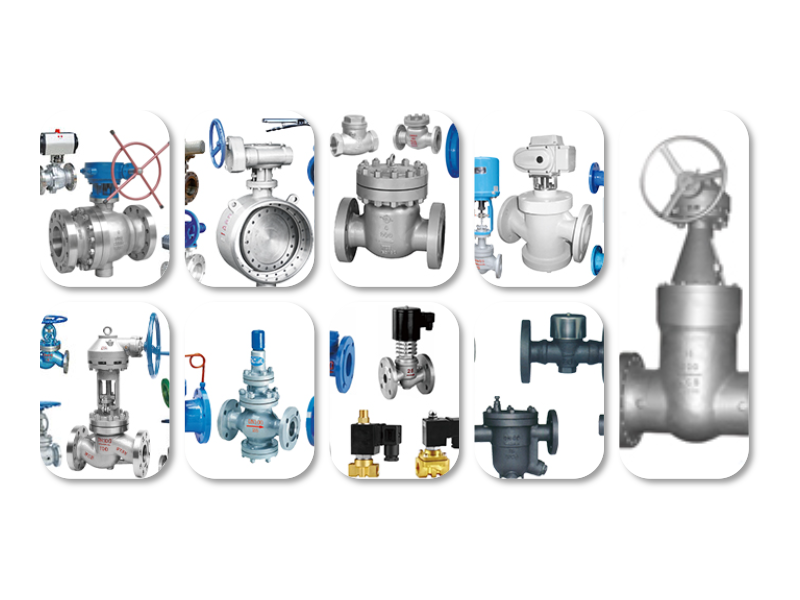
1. Ball valves: These valves have a hollow, perforated ball that rotates to control the flow of fluid. They are suitable for high-pressure applications. 2. Gate valves: These valves have a flat disk that moves up and down to control the flow. They are ideal for low-pressure applications. 3. Check valves: These valves prevent backflow in a system. They are often used in plumbing systems to prevent siphonage. 4. Butterfly valves: These valves have a circular disk that moves horizontally to control the flow. They are suitable for high-pressure and large-diameter pipes.
**Tools Required for Valve Installation**
To install a valve, you will need the following tools:
1. Wrenches: Depending on the size of the valve, you may need adjustable wrenches, pipe wrenches, or a combination wrench. 2. Pliers: Pliers are useful for gripping and turning nuts and bolts. 3. Screwdriver: A flat-head and Phillips-head screwdriver are essential for tightening screws. 4. Tape measure: A tape measure is necessary for ensuring that the valve is the correct size for the application. 5. Pipe cutter: A pipe cutter is used to cut pipes to the correct length before installing the valve.
**Step-by-Step Valve Installation Instructions**
1. **Select the Correct Valve**: Choose the appropriate valve type and size for your application. Ensure that the valve is compatible with the pipe material and pressure requirements. 2. **Prepare the Pipe**: Cut the pipe to the desired length using a pipe cutter. Clean the ends of the pipe to remove any burrs or debris. 3. **Apply Thread Sealant**: Apply a thread sealant to the threads of the pipe and the valve. This helps prevent leaks and ensures a tight fit. 4. **Attach the Valve**: Screw the valve onto the pipe, ensuring that it is tight. Use a wrench or pliers to tighten the valve, but be careful not to overtighten. 5. **Check for Leaks**: After installing the valve, check for leaks by running water through the system. If you detect a leak, tighten the valve or replace the sealing material. 6. **Test the Valve**: Once the valve is installed and there are no leaks, test the valve to ensure that it operates correctly. This may involve opening and closing the valve to control the flow of fluid.
**Conclusion**
Installing valves may seem like a daunting task, but with the right tools, materials, and knowledge, it can be a straightforward process. By following this guide, you can ensure that your valves are installed correctly and safely, which will help maintain the efficiency and reliability of your plumbing or mechanical system.







 Chat Oline