

Valves are essential components in various industries, including plumbing, HVAC, and chemical processing. Proper installation of valves is crucial for ensuring system efficiency, safety, and longevity. This article provides a comprehensive guide to valve installation, covering the basics, key considerations, and step-by-step procedures. Whether you are a professional plumber, HVAC technician, or a DIY enthusiast, this guide will help you install valves like a pro.
**Introduction**
Valves are devices used to control the flow of fluids, gases, or slurries in pipelines. They play a vital role in regulating pressure, preventing backflow, and isolating sections of a system. Installing valves correctly is essential to maintain system integrity and prevent costly repairs or accidents. This article will delve into the process of valve installation, providing you with the knowledge and skills needed to handle this task effectively.
**Understanding Valve Types**
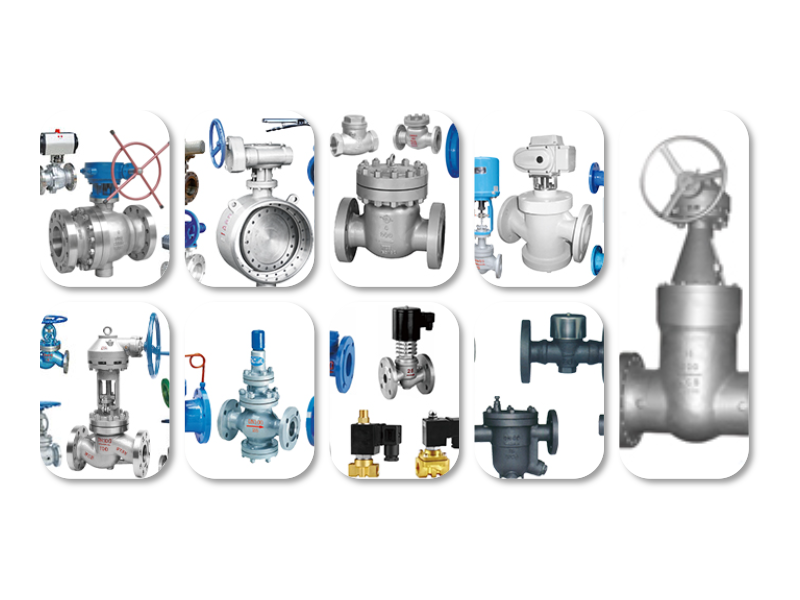
Before diving into the installation process, it is crucial to understand the different types of valves available. Common valve types include gate valves, ball valves, check valves, and butterfly valves. Each type has its unique features and applications. Familiarize yourself with the characteristics of each valve type to ensure you choose the right one for your specific needs.
**Preparation for Installation**
1. **Select the Right Valve**: Choose a valve that meets the required specifications, such as pressure and temperature ratings, material compatibility, and size. 2. **Prepare the Pipeline**: Ensure the pipeline is clean and free of debris. This will prevent damage to the valve and ensure proper seating. 3. **Gather Tools and Materials**: Have the necessary tools and materials on hand, such as a wrench, pipe cutter, flange, and gaskets.
**Step-by-Step Valve Installation**
1. **Cut the Pipeline**: Use a pipe cutter to make a clean, straight cut in the pipeline. Ensure the cut is at the desired location for valve installation. 2. **Prepare the Valve**: Remove the valve from its packaging and inspect it for any damage. Clean the valve surfaces to ensure a proper seal. 3. **Install the Valve**: Place the valve in the pipeline and align the flanges. Ensure the valve is oriented correctly, with the flow direction marked on the valve body. 4. **Apply Gaskets and Bolts**: Apply a gasket to the flanges and tighten the bolts evenly to create a secure seal. Avoid over-tightening, as this can damage the valve or pipeline. 5. **Test the Valve**: After installation, test the valve to ensure it operates correctly. Check for leaks and verify that the valve opens and closes smoothly.
**Key Considerations**
1. **Safety**: Always wear appropriate safety gear, such as gloves and eye protection, when working with valves. 2. **Valve Sizing**: Ensure the valve is properly sized for the pipeline to prevent flow restrictions and potential damage. 3. **Material Compatibility**: Choose a valve material that is compatible with the fluid or gas being transported to prevent corrosion and leaks. 4. **Regular Maintenance**: Perform regular maintenance on valves to ensure they continue to function properly and prevent costly repairs.
**Conclusion**
Valve installation is a critical task that requires attention to detail and proper technique. By following this comprehensive guide, you can install valves with confidence and ensure the efficiency and safety of your system. Whether you are a professional or a DIY enthusiast, understanding the basics of valve installation will help you maintain your systems and prevent future issues.


 Chat Oline