

Valves are integral components in various industrial and domestic applications, ensuring the safe and efficient flow of fluids. Proper installation of valves is crucial for their optimal performance and longevity. This article serves as a comprehensive guide to valve installation, providing essential information for professionals and DIY enthusiasts alike.
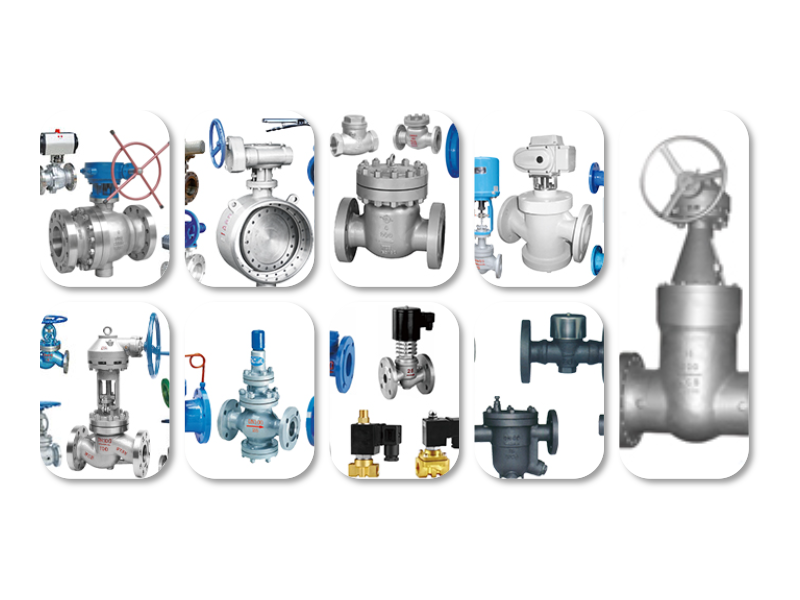
The first step in valve installation is selecting the right type of valve for the application. There are numerous types of valves available, each designed for specific purposes. Some common types include gate valves, ball valves, butterfly valves, and check valves. Understanding the characteristics and applications of each type is essential in making an informed decision.
Once the appropriate valve has been selected, the next step is to prepare the installation site. This involves ensuring that the pipeline is clean, free of debris, and properly sized for the valve. It is also crucial to check the pipeline material to ensure compatibility with the valve.
The actual installation process can vary depending on the type of valve. However, the following general steps are typically involved:
1. **Positioning the Valve**: Carefully position the valve in the pipeline, ensuring that it is aligned with the flow direction. This is crucial for the valve to function correctly.
2. **Flange Alignment**: If the valve is flanged, align the flanges with the pipeline flanges. Make sure that the bolts are evenly tightened to create a secure seal.
3. **Bolt Torque**: Follow the manufacturer’s recommended bolt torque specifications to ensure proper alignment and prevent damage to the valve.
4. **Sealant Application**: Apply a suitable sealant to the flange faces to enhance the seal. Be cautious not to overapply, as this can lead to leakage.
5. **Pipeline Connection**: Connect the valve to the pipeline using the appropriate connectors or bolts, ensuring a tight and secure fit.
6. **Inspection and Testing**: After installation, inspect the valve and pipeline for any leaks or damage. Perform a pressure test to ensure the valve is functioning correctly.
Regular maintenance and inspection of valves are essential to prevent leaks, corrosion, and other issues that can affect their performance. Here are some key maintenance tips:
1. **Regular Inspection**: Regularly inspect the valve for signs of wear, corrosion, or damage. This includes checking the stem, seat, and seals.
2. **Cleaning**: Clean the valve and pipeline to remove any debris or sediment that can affect flow and cause damage.
3. **Lubrication**: Apply lubricant to the valve stem and other moving parts to reduce friction and prevent wear.
4. **Replacement**: Replace worn-out or damaged parts, such as seals and gaskets, to maintain optimal performance.
In conclusion, valve installation is a critical process that requires careful planning and execution. By following this comprehensive guide, you can ensure that your valves are installed correctly and operate efficiently. Always refer to the manufacturer’s installation manual for specific instructions and guidelines. With proper installation and maintenance, valves can provide reliable performance for years to come.


 Chat Oline